The tubing on a Behind-the-Ear (BTE) hearing aid connects the earmold to the hearing aid itself. Over time, it can harden, become discolored, or trap moisture and earwax, which can reduce sound quality and comfort. Replacing the tubing is a simple, routine maintenance task that can help your hearing aids perform like new again.
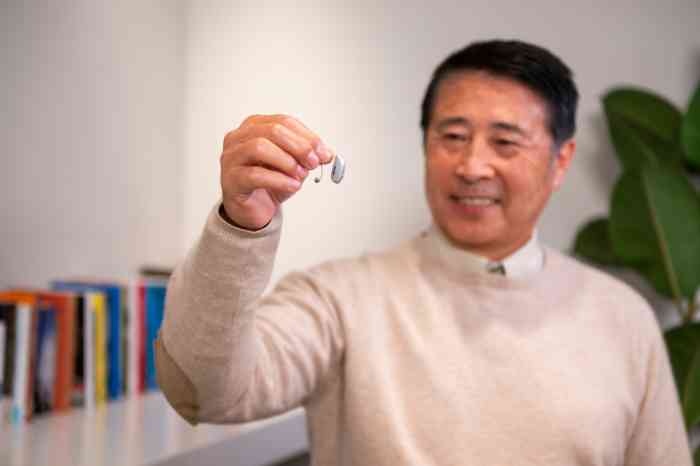
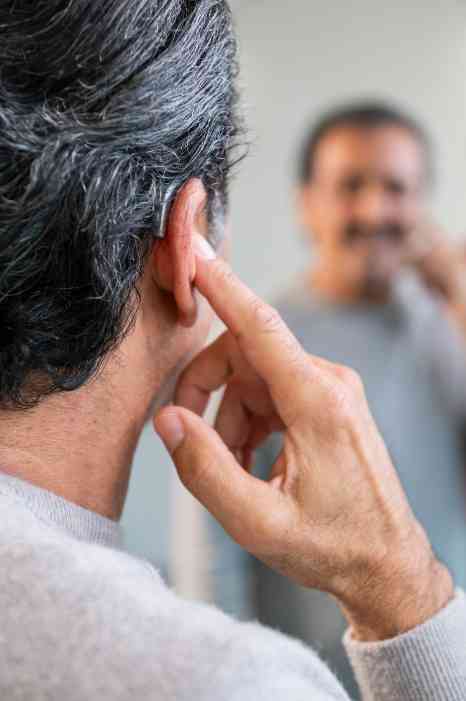
A hearing aid tube is a key part of a behind-the-ear (BTE) hearing aid. It connects the main body of the device — which contains the receiver, microphone, and amplifier — to the ear canal. Through this small, flexible tube, sound is delivered directly into the ear. The hearing aid itself sits discreetly behind the ear, while the tube ensures clear sound transmission.
BTE hearing aids are known for offering the most powerful amplification among all hearing aid styles. However, they rely on properly maintained tubes to function effectively. Regular care and timely hearing aid tube replacement are essential to maintain sound quality and device performance.
Hearing aid tubes come in different types and sizes to suit various hearing needs and hearing aid models. They may connect to an earmold or a hearing aid dome, depending on the wearer’s level of hearing loss and the design of the device.
We offer solutions that transform hearing, from nearly invisible, comfortable designs to robust AI technology.
Hearing aid tubes are typically clear and flexible, providing comfort and a discreet appearance. They differ in both diameter and length, and sizing may vary slightly between manufacturers, so it’s important to use tubes made specifically for your hearing aids.
Here’s an overview of the main tube sizes and their ideal uses:
Maintaining and replacing your hearing aid tubes as needed helps ensure optimal comfort, clarity, and performance from your hearing aids.
Before starting, prepare a clean workspace and gather the following items:
Tip: Wash your hands thoroughly before you begin to prevent transferring dirt or wax to the new tube. Before removing the old tubing, take note of how it’s positioned — particularly the angle where it connects to the earmold. This will help ensure that your new tubing sits properly when fitted.
Follow these steps carefully to replace the tubing on your Behind-the-Ear (BTE) hearing aids. Proper replacement helps maintain sound quality, comfort, and fit.
One of the best ways to care for your ears and prevent hearing loss is to get them properly examined by a hearing care professional. Find your nearest Miracle-Ear store to get started on your journey to better hearing.
After replacing the tubing, take a few moments to clean and check your hearing aid:
Performing these quick checks helps confirm that the new tube is fitted correctly and that your hearing aid is working as expected.
For best performance, replace the tubing on your Behind-the-Ear (BTE) hearing aid every three to six months, or sooner if you notice any of the following:
Regular tubing replacement helps maintain sound quality, comfort, and hygiene, while also extending the overall lifespan of your hearing aid.
What tools or supplies will you need? You’ll need:
Learn more about how your hearing works from certified experts.
Common signs include:


 Find your closest Miracle-Ear center


.jpg/jcr:content/renditions/cq5dam.web.700.700.jpeg)