Earwax plays an important role in maintaining the health and cleanliness of your ears. But, as they say, it is certainly possible to have too much of a good thing. While earwax acts as a protective barrier to help keep dirt, dust, and other unwanted particles from getting inside your ears, an excess of it can actually prevent sound from getting into your ear, too.
Earwax can build up inside your ear or in your hearing aids, causing sound to be muffled or distorted. Luckily, with proper hearing aid care, including regular cleaning and the use of wax guards, you can prevent pesky wax buildup and keep yourself hearing clearly.
A wax guard is a small plastic screen that attaches to your hearing aid and acts as a barrier to keep ear wax from building up on or in the device. It helps keep ear wax, dust, and moisture from infiltrating and clogging the microphone and receiver—highly important to prevent potential damage and malfunctioning. Should wax or other debris build up and clog the hearing aid, you may require a professional to clean and repair it, as doing so yourself could risk further damage. Wax guards not only help your hearing aid work well, they can extend the lifetime of your device too—saving you money and time in the long run.
Join the millions of Americans who have trusted Miracle-Ear for hearing care that’s tailored to their needs.
Wax guards should be replaced periodically to keep your device in tip-top shape. Typically, you should change it once a month, but this can vary depending on how much or how little earwax you produce.
Because wearing a hearing aid can cause your ears to produce more earwax, you may find you have to replace your wax guards every two weeks. Even with a wax guard, you should still clean your hearing aid daily. During your cleaning and maintenance routine, be sure to check for earwax buildup on the wax guard. It is recommended that you have your hearing care professional clean your device every 3 to 6 months.
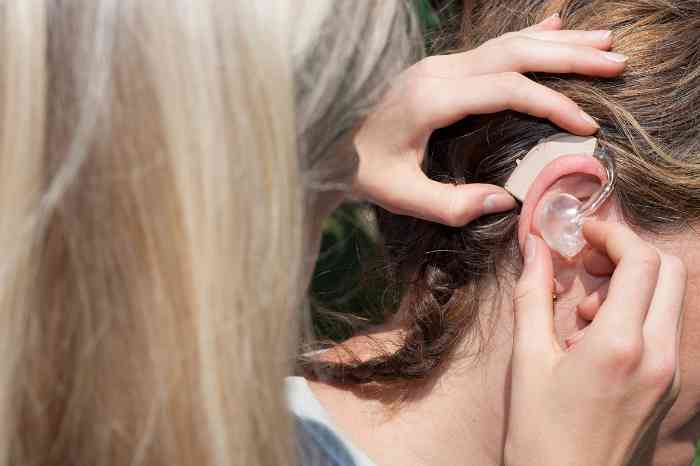
The process of replacing your wax guard will be different depending on whether you use in-the-ear (ITE), receiver-in-canal (RIC), or behind-the-ear (BTE) hearing aids.
Your hearing care provider can show you how to perform this replacement properly.
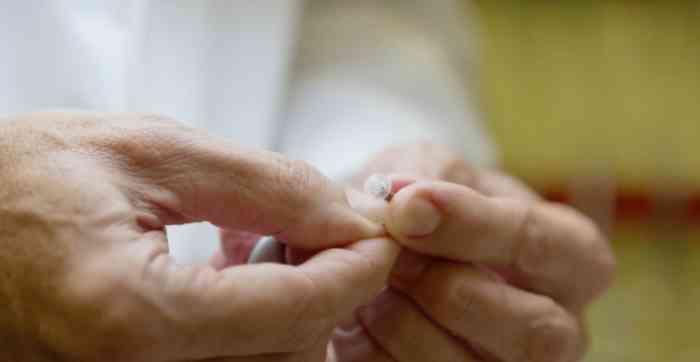
When you open the wax guard packaging, you should find a small stick-like tool and a set of filters. Insert the empty end of the stick into your old wax guard and pull it toward you to remove it. You shouldn’t have to twist the tool for miniReceiver wax guards, but you do need to twist the tool for HF4 filters. Then, insert the other end of the stick in the same spot to place the new wax guard. The new guard should stay in place as you gently pull the tool toward you.
If you have trouble with your wax guard and need help replacing it, contact your local Miracle-Ear location for assistance.


 Find an expert at any of our 1,600+ locations nationwide